Calibration Tools
Having multiple toolheads print on the same part introduces a new calibration challenge, as each toolhead must print precisely in relation to all the others. Therefore, each toolhead has to be calibrated in X, Y and Z to match the others.
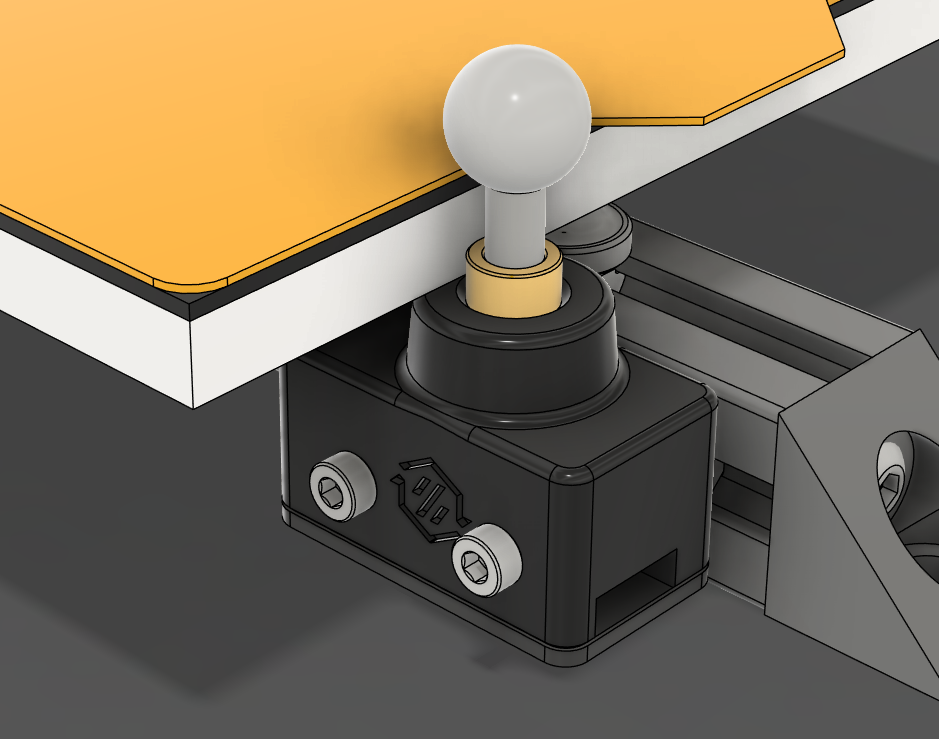
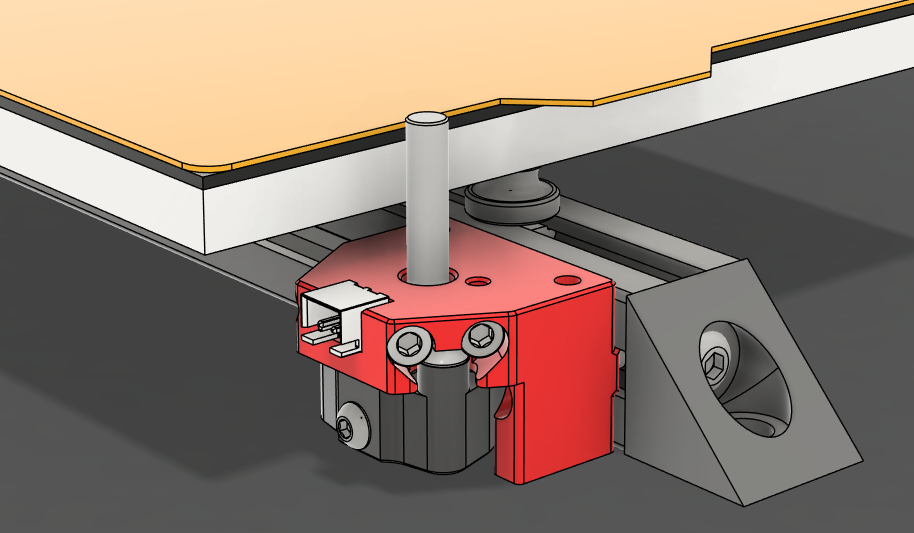
Sexball Probe
The Sexball gets its rather raunchy name from being a derivative of hartk's Sexbolt Z Endstop. The addition of a ball at the end of the shaft allows it to do multi axis (XYZ) probing.
Converting an existing Sexbolt Z Endstop is easy, all you need is to replace the existing shaft with a M5 threaded (one end) shaft and 12mm threaded ball.
Not just any Z endstop
Only Z endstops with a bushing are recommended for use as a Sexball Probe. If your Z endstop is the style with a deflanged pulley, you will need to source another one.
LDO Kit
All of the hardware components for a Sexball Probe come as a part of LDO's Base StealthChanger Kit.
Community Tools
Axiscope
Axiscope is a specialized tool created by members of our community that is designed to simplify the calibration process for multi-tool 3D printers running Klipper-toolchanger using camera-assisted alignment.
Axiscope provides a streamlined web interface for:
- Semi-automated XY calibration using camera feedback.
- Automated Z alignment through use of a Z endstop or Sexball Probe.
- Quick and precise tool alignment.
- No calculations required, the offsets are given to you in the exact format used with Klipper-toolchanger.
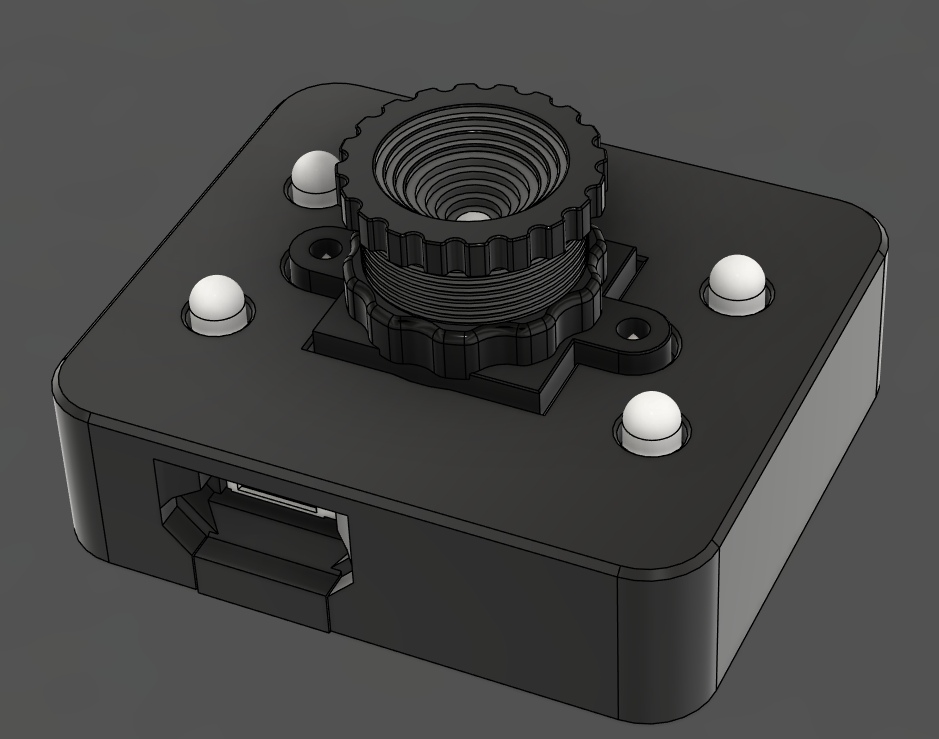
Which Camera?
Axiscope can technically use any webcam, but it's recommended to use a camera that is built for purpose. See our build guide on how to assemble a camera specifically for Axiscope or consider Ember Prototype's CXC camera.
More information can be found on the Axiscope Github.
Nudge
Nudge is a multi axis probe where the shaft is suspended in a wobbler using magnets and screws. Nudging the probe in any axis breaks contact with screws within the probe which triggers the probe.
For more information and build instructions, visit the Nudge GitHub.
Calibration Prints
If you don't have any nozzle calibration aids at your disposal, test prints are a simple and reliable way to get your nozzles aligned.
Test prints work by doing a print with 2+ tools and studying the alignment manually. Adjust the offset by the measured amount and print again. Repeat these steps until you are happy with alignment.